Make up
Eyebrows Tweezing Tips
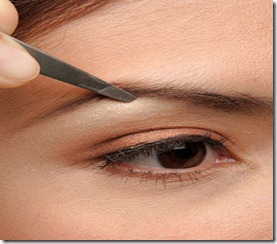
0Overgrown eyebrow hair can be minutely and neatly removed with the help of tweezers. Though a painful procedure, one can permanently get rid of the bushy eyebrows by employing safe and simple techniques of tweezing. Find out more about plucking your messy eyebrows with tweezers by reading the following article.
1. Pick a natural light source for your tweezing.
2. Place a warm washcloth over brows for 5 – 10 minutes.
3. Exfoliate brow with a washcloth to help free up any (potential) ingrown hairs.
4. Pull skin taut and remove offending hairs as close to the root as you can AND in the direction of the growth.
5. Close pores with an astringent when you have completed the session.
Tips:
How to Apply Mascara?
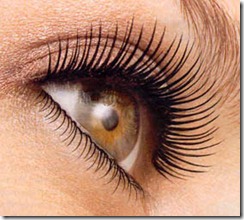
0When it comes to makeup,Mascara is one of the most popular beauty product.Mascara defines and brings color to lashes and highlight and dramatize your eyes.Follow these tips to get eye-enhancing lowdown on applying Mascara.
Tips to apply mascara: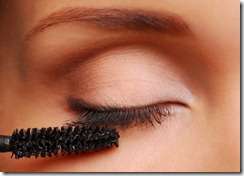
- First, curl your upper lashes with an eyelash curler, if your lashes are straight. See that you take in all the lashes in the curler and that it is fitted as close as possible to the bottom of the eyelash. Apply mascara by sweeping from the top and coming down, while also coating under the lashes. Now, close your eyes and apply mascara from the roots to the tips, using full strokes.
- Use the comb side of the brush and comb through the lashes to separate them. You’ll find that it is easier to separate lashes before they dry. Repeat. Now, hold the brush parallel to your nose and coat the bottom lashes with a stroke of the mascara brush. Now, once again, comb through the bottom lashes with your eyebrow comb/brush.
- To give an extra long look to your lashes, once they dry coat the tips of the lashes two or three times with black mascara, while also drying and separating the lashes between applications. If you want very long lashes, coat them from the top.
- You must check to see if the lash base is coated as close to the skin as possible as this shows up the shape of the eye and makes the look very natural. If you want to give the impression of not having any makeup on, coat below the lower lashes with clear mascara only and then comb them with eyebrow brush/comb after application. If you want real thick lashes, coat the upper and lower lashes with clear mascara, comb them and then c
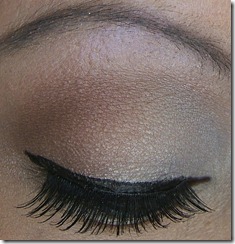 oat the upper and lower lashes as with black mascara.
 - If you find that an excess of your mascara is deposited on the wand than required, use a tissue to wipe away the extra color before application. You can choose from a range of mascara colors such as brown, navy and green. Don’t share your mascara with anyone else, as this may cause infection in the eye. If you have the slightest irritation, take it off immediately.
- Use a thin and short brush for better hand control, so that it gets to the corner of the eye easily. You could also use powder under the eye before applying mascara to avoid smudging. However, if you use a gel-based mascara, it will play up the lashes. Give your thick mascara a more dramatic loo, while also adding volume to your lashes.
- Brown, navy and aubergine add subtle and sophisticated touches to your eyes, while burgundy looks striking on redheads. No matter what you decide, please don’t match your mascara color with your eye color.
How to Apply Mascara to Bottom Lashes
Applying mascara to bottom lashes is even easier. Apply it carefully using the tip of the mascara wand. Place a tissue beneath your eye, underneath the lash line, to catch excess mascara. You can also eliminate streaks and smudges with a makeup remover pen or a cotton swab dipped in makeup remover.
Mascara Tips
- Before applying mascara, rub the wand against the tube to remove mascara clumps.
- Do not pump the wand up and down in the tube before applying mascara; this introduces air into the tube, which will make your mascara dry out more quickly.
- Do not store your mascara in hot places, like your car.
- Replace old mascara after a year or when it begins to cake in the tube or clump more frequently
How to apply Eyeshadow
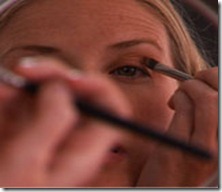
0There are two basic ways to apply eye shadow in shape shading, “rounded” and “winged”. Now you want to determine what is the best shading shape in your case. You can try applying one shading shape (rounded) to one eye and the other shading shape (winged) to the other eye (this would save you time). Then go look in the mirror and see which one looks best on you.
.
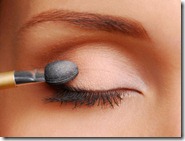 |
Apply the color across the entire lid from the lash line to just above the crease, sweeping upward toward the brow (without going as high as the brow). |
| Run brush over darker color, tapping to remove excess.Sweep your brush over the darker eye shadow, and be sure to tap off any excess before applying. | 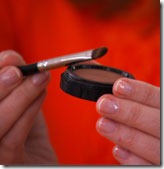 |
.
| Repeat steps one through four on the other eye
Follow the same steps for the other eye, remembering to tap off excess shadow each time you dip your brush.
|
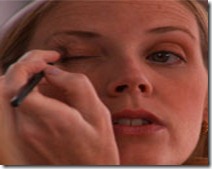 |
Eye shadow for blue eyes
If your eyes are blue, then wearing blue eyeshadow in a shade that matches your eye color exactly would bring out the color in your eyes. That’s not the only color you can wear.
Besides a blue that matches your eyes exactly try these.
- Brown, violet,mauver would accentuate the color in medium blue eyes.
- Metallic eyeshadow like silver and gold will bring out the color in blue grey eyes.
- Grey and navy would make blue green eyes look stunning
Eye Shadow for Brown eyes
Brown eyes can take most warm colors. Browns, earth tones and moss green eyeshadow make brown eyes look even more stunning.
- Hazel eyes look wonderful with green eyeshadow, with a touch of charcoal black eyeshadow in the crease and pale pink highlights.
- Brown eyes look wonderful with brown eyeshadow, with green shades and peach or light pink highlights.
- Dark brown eyes look great with mauve eyeshadow, with a touch of navy and some light yellow highlights.
Applying Blush
0Blush is often the last cosmetic to be used on face while doing makeup. The method of applying blush differs with the facial shape and the right application of blusher can make your face look longer or wider, as desired. Here are some tips to use while applying blush
When applying blush remember your face shape 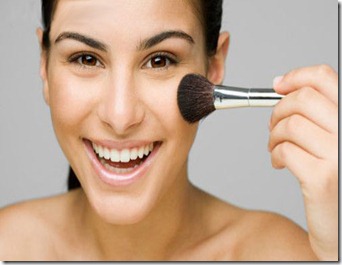
For Long Face :
If your face shape is long – Apply the blush color lesser than the lower edge of the cheekbone and keep the angle horizontal for such a face to create the width of the face. For round and square face: Apply color in the middle of the face. Don’t get close on the nose.
Step 1.
In order to find your cheekbones suck your cheeks in. Now feel along the edge of the cheekbone. This is where you have to place the cheek color to make your cheekbones more prominent and enhance your other features as well.
Step 2
Now give a smile to yourself. This will reveal the apples of your cheeks. Then, dip your blush brush into the powder, shake off the excess, and brush it lightly over the apple of your cheek, moving upwards toward the ear, with short, up-and-down vertical movements.
Step 3
You should apply your blusher underneath the cheekbone but for an even stronger look you can apply some to the temple also.
Step 4
Again smile and apply the blusher to the apples of your cheeks. If you keep the blush color on the front of your cheeks then it will not only give an illusion of clear skin but also emphasize your eyes.
Step 5
In case your face cut is long and narrow then you need to create width. For this you should apply the color no higher than the lower edge of cheekbone and keep the angle horizontal. You should apply blush color only on the outer side of your cheeks, as cheek color in the middle of the face will emphasize length only.
Step 6
In case you want to enhance the length of your face then you should apply blush color in the middle of your face. The cheek color on the outer side of your cheeks will only emphasize roundness of your face.
Tips to remember when you apply blush
While selecting the color of blush make sure that it matches your lipstick color
Make sure that before applying the blush you are finished with application of powder, foundation and eye makeup
On your brush or on your middle finger place a little amount of the blush and ensure that you tap off the excess amount of blush if there is any.
In case of high cheekbones you should apply the blush in the center of your face
